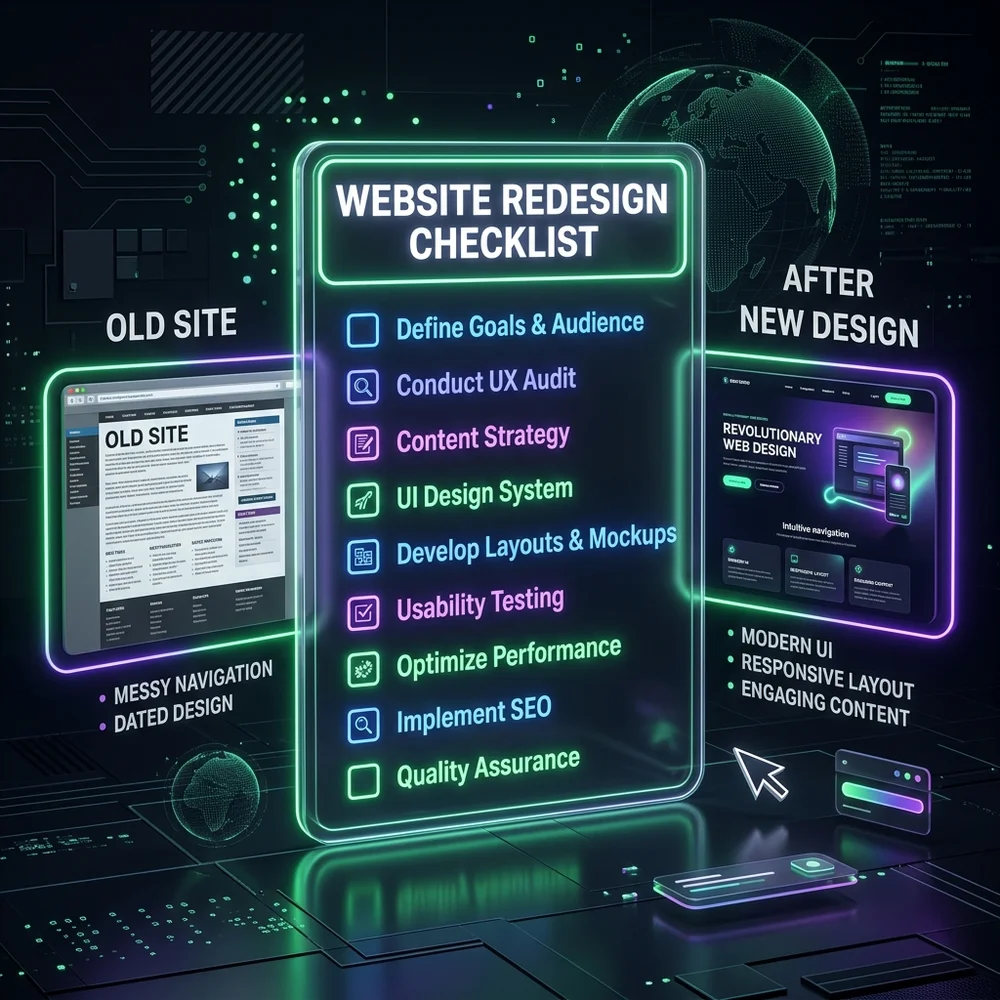
Why a Structured Redesign Process Matters
A website redesign is one of the most high-impact digital initiatives a business can undertake. However, without a comprehensive website redesign checklist, it is also a project fraught with risk. If executed incorrectly, you could experience a drop in Google rankings, broken user paths, and lost revenue.
Optimizing why a structured redesign process matters is vital for digital growth. Analyzing the underlying user journey path is critical for this setup. This ensures search spiders can crawl and index your keywords. By removing visual clutter, you build long-term reader trust.
By following a structured, phased approach, you can turn a risky redesign into a massive growth driver. Let's explore the 10 essential phases of a successful website redesign.
Key Optimization Tactic
Focus on user experience first. Include structured data schema markup to help Google display rich snippets. Consequently, site conversion rates will compound and index scores will improve.
Step 1: Audit Current Site Performance & Metrics
Before writing a single line of code or drafting a header layout, you must benchmark your current site's performance. Utilize tools like Google Analytics 4, Search Console, and PageSpeed Insights to determine what works and what fails on your current website. Partnering with an experienced agency like Webstacy ensures these technical standards are met.
Optimizing step 1: audit current site performance & metrics is vital for digital growth. We recommend linking all forms directly to CRM autoresponder sequences. This helps direct traffic toward your primary call-to-action. By removing visual clutter, you build long-term reader trust.
Document your top-performing landing pages, your primary keywords, bounce rates, average session duration, and organic search conversions. These baseline figures will serve as your yardstick for measuring the success of the redesign.
Key Optimization Tactic
Focus on user experience first. Conduct A/B split testing to optimize button labels and colors. Consequently, site conversion rates will compound and index scores will improve.
Step 2: Define Core Redesign Goals & KPIs
Never redesign a website just for a cosmetic change. Every visual element should align with a tangible business outcome. Are you trying to generate more inbound phone calls, increase e-commerce sales, or build credibility in a new market segment?
Optimizing step 2: define core redesign goals & kpis is vital for digital growth. Our experience shows clean semantic code ranks better on search engines. This ensures search spiders can crawl and index your keywords. By removing visual clutter, you build long-term reader trust.
Set clear, measurable key performance indicators (KPIs) like increasing site speed by 50%, raising conversion rates from 1.5% to 3.0%, or growing organic ranking keywords by 20% within the first six months post-launch.
Key Optimization Tactic
Focus on user experience first. Conduct A/B split testing to optimize button labels and colors. Consequently, site conversion rates will compound and index scores will improve.
→ Pricing Guide: Learn how much a professional custom redesign costs in 2026.Step 3: Analyze Competitors & Audience Intent
Analyze your competitors' digital footprints. Where are they winning? Where do their websites fail? Pair this competitive analysis with deep audience research to understand search intent. The layout of your pages must reflect how your prospects think and what answers they seek immediately. Consult the team at Webstacy to review your digital performance and optimize your revenue metrics.
Step 4: Create a Bulletproof SEO & Redirect Strategy
This is the step where most redesigns fail. If you modify any page URLs, you must implement 301 redirects from old URLs to the corresponding new locations. Keep a detailed mapping spreadsheet to prevent visitors and search crawlers from landing on 404 error pages.
Optimizing step 4: create a bulletproof seo & redirect strategy is vital for digital growth. Our experience shows clean semantic code ranks better on search engines. This helps direct traffic toward your primary call-to-action. By removing visual clutter, you build long-term reader trust.
"Failing to implement 301 redirects is the single fastest way to destroy years of accumulated domain authority and search rankings overnight." — SEO Specialist, Webstacy
Key Optimization Tactic
Focus on user experience first. Conduct A/B split testing to optimize button labels and colors. Consequently, site conversion rates will compound and index scores will improve.
Step 5: Design UX Wireframes & User Flows
Start by designing wireframes—simplified black-and-white structural diagrams of each page type. This stage focuses entirely on User Experience (UX), layout logic, navigation hierarchy, and call-to-action (CTA) positioning without getting distracted by colors or graphics.
Step 6: Build High-Fidelity UI Mockups & Style Guides
Once your UX layouts are approved, inject your visual brand identity. Build high-fidelity User Interface (UI) mockups that showcase colors, typography, high-resolution imagery, and animation styles. Establish a design system to ensure brand consistency across all pages.
Step 7: Execute Zero-Bloat Development
Now, translate designs into clean, semantic code. Avoid heavy templates and unnecessary plugins. Building pages using semantic HTML5 and vanilla CSS ensures that search engines can easily parse your content and that pages load instantaneously.
Step 8: Conduct Comprehensive Speed & Quality Audits
Before launching, host the site on a private staging server and test everything. Audit your Core Web Vitals to guarantee optimal Largest Contentful Paint (LCP) and Cumulative Layout Shift (CLS) scores. Verify cross-browser compatibility and test all forms, buttons, and checkout sequences.
→ Speed Guide: Complete guide to optimizing website load times for Core Web Vitals.Step 9: Launch Safely & Monitor Crawl Behaviors
Launch during low-traffic windows. Upload the new XML sitemap to Google Search Console and verify that Googlebot is index-crawling the pages smoothly. Keep a close eye on crawl errors and monitor search logs to catch any early post-launch hiccups.
Step 10: Leverage Continuous A/B Testing & Updates
Launching is just the beginning. Use heat maps and session recordings to analyze user behavior. Optimize headings, CTAs, and layout sections continuously based on real visitor data rather than subjective design assumptions.